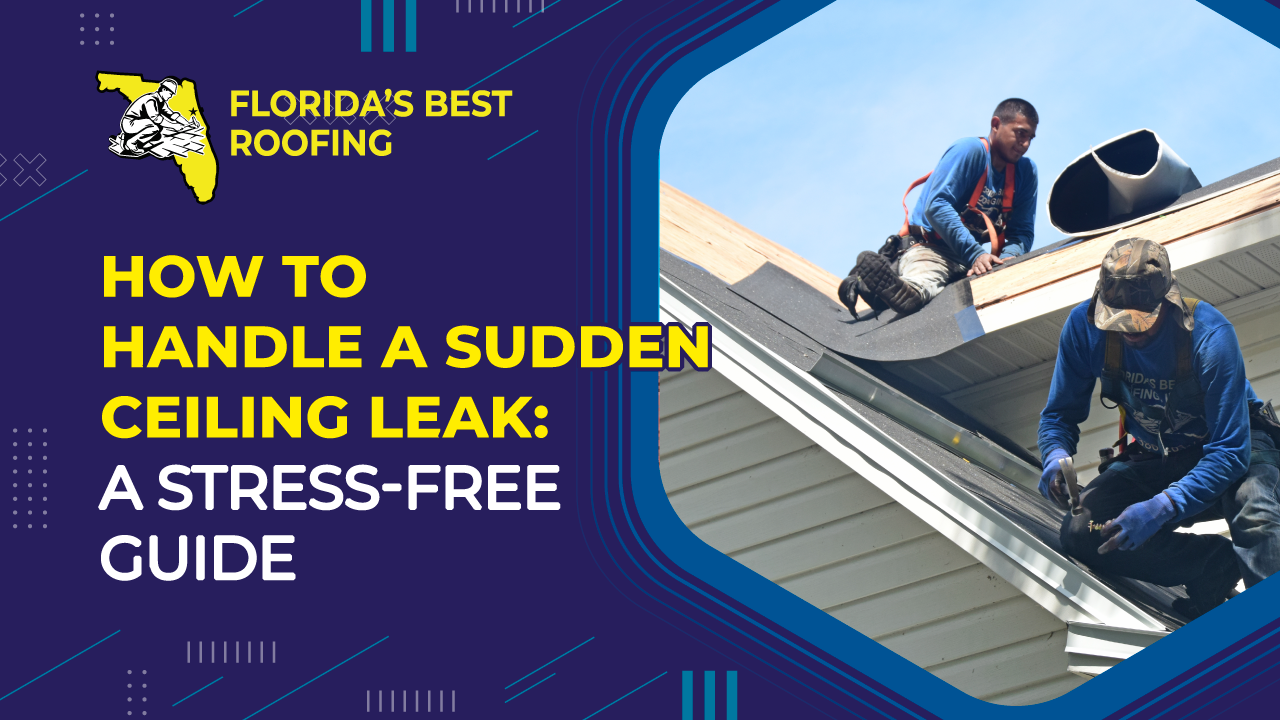
Discovering a leak in your ceiling can be overwhelming. Your mind may race with concerns about finding a reliable contractor, managing repair costs, and dealing with potential disruptions to your daily routine. You might even worry about mold and other complications if the issue isn’t addressed promptly. But don’t panic—this step-by-step guide will help you navigate the process smoothly, removing much of the stress.
Step 1: Identify the Source
The first thing to do when you find a leak is to determine its origin. This will guide your next steps and inform you of which professionals to call for repairs. Don’t worry—you don’t need to climb onto your roof or venture into the attic. Simply consider that a leak involves water entering a place where it shouldn’t be. There are two potential sources: weather or plumbing. If the leak continues regardless of the weather, it’s likely a plumbing issue. If it only leaks when it’s raining, the problem is probably with your roof.
Step 2: Document the Leak
Regardless of the source, it’s crucial to document the leak for insurance and liability purposes. Take photos of the leak and the surrounding area as soon as you discover it. Continue to photograph any changes, whether the leak worsens or not, and keep documenting the process throughout the repairs. These photos might not be necessary, but they could be invaluable if you need to file an insurance claim. If you decide to contact your insurance company, they will expect you to have taken steps to mitigate further damage, so be sure to do so.
Step 3: Hire a Contractor
Next, you’ll need to hire a contractor. It’s best to choose a local, experienced, licensed, and insured professional. A quick internet search will help you find reputable contractors in your area, sorted by customer ratings and reviews. A roofing contractor should visit your home within a day or two to assess the situation and provide an estimate. If the earliest appointment is more than a couple of days away, you might want to consider another contractor, especially if the leak is active.
When the contractor arrives, make sure to ask them to identify the specific cause of the leak. This is important because some causes are covered by property insurance, while others are not. The contractor should be able to tell you whether your leak is likely covered. If you’re unsure, contact your insurance agent to verify. Even if the repair cost is below your deductible, file a claim anyway, as the deductible only applies once per policy period. This way, if another issue arises within the same period, you’ll be fully covered.
Step 4: Schedule Repairs
After hiring a contractor and agreeing on a price, it’s time to schedule the repairs. For active leaks, repairs are usually scheduled within a week. If the leak is severe, the contractor may take immediate measures to mitigate further damage, such as tarping the area. If you’ve filed an insurance claim, make sure repairs are scheduled after the adjuster has inspected the damage. If this isn’t possible, ensure your contractor takes detailed photos before, during, and after the repair to provide to your insurance company.
Step 5: Clean-Up and Payment
Once the leak is fixed, you’ll need to address any interior damage, such as ceiling stains or drywall issues. A good roofing contractor can recommend a reliable handyman or painter to restore your ceiling to its original condition. After everything is repaired, you can make the final payment, and your home will be back to normal.
Florida’s Best Roofing, Inc. is a fully licensed (CCC 1325974) and insured local roofing contractor with decades of experience. If you need roof replacement or repair services in the Palm Coast, Flagler, or Volusia area, contact us at 386-263-7906 for a free estimate!


