(386) 263-7906 [email protected]
Roofing Blog

Kick Off 2025 with a Stronger and Safer Roof

FREE Estimates All Year!

Happy New Year from all of us at Florida’s Best Roofing! As we step into 2025, it’s the perfect time to make sure your roof is in top shape for the months ahead. Whether you’re dealing with minor wear and tear, leaks from recent storms, or you’re ready for a full roof replacement, our expert team is here to help.

And here’s something to celebrate—we’re offering FREE estimates all year long for homeowners in Flagler County, St. Johns County, and Volusia County! 🏠✨

Why Choose Florida’s Best Roofing?

✔ Licensed & Insured Professionals: With over twenty years of experience, we provide reliable roofing services you can count on.
✔ Community-Focused Service: Proudly serving our neighbors in Flagler, St. Johns, and Volusia Counties.
✔ Premium Materials & Long-Lasting Quality: We use only top-grade materials to ensure your roof stands strong through every season.
✔ Timely & Transparent: From free inspections to completing the job, we keep you informed every step of the way.

We know how unpredictable Florida’s weather can be, from heavy summer storms to high winds in the cooler months. That’s why maintaining a durable and secure roof is essential for protecting your home and family all year long. If you live in Palm Coast, St. Augustine, Daytona Beach, or anywhere in between, we’re your trusted local roofing partner ready to respond quickly to your needs.

Whether you need emergency storm damage repairs, routine maintenance, or a full roof replacement, Florida’s Best Roofing has a solution tailored to fit your home’s specific requirements. Our team works diligently to ensure high-quality craftsmanship, outstanding customer service, and roofs that will last for years to come.

Start the Year Right – Schedule Your Free Estimate Today!

Prevent small issues from becoming big headaches later. Whether it’s fixing damaged shingles, sealing leaks, or improving your home’s energy efficiency, Florida’s Best Roofing has you covered. Don’t wait—our calendar is filling up fast!

📞 Call us at 386-263-7906 or message us here to book your FREE estimate. Let’s make 2025 your home’s safest year yet!

#NewYearNewRoof #FloridasBestRoofing #FreeEstimate #RoofingExperts #PalmCoastPros

Roofing Blog

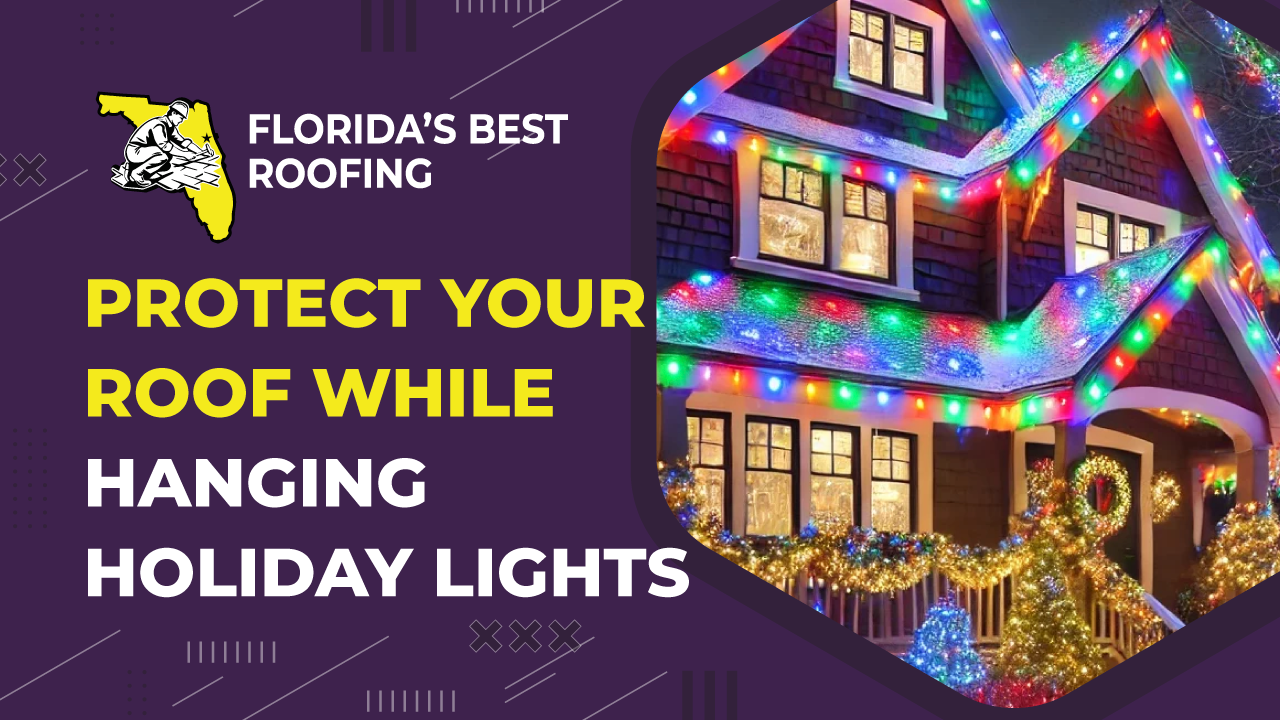
Protect Your Roof While Hanging Holiday Lights

The holiday season is here! Now that Thanksgiving is behind us, many homeowners in Flagler County, St. Johns County, and Volusia County are getting ready to hang up lights and festive decorations. Whether you’re decking your home with twinkling icicles, garlands, or glowing reindeer, it’s important to hang your holiday décor safely—and without causing damage to your roof. As a local roofing company, we’re here to offer some quick tips to ensure your roof stays intact while your home shines bright this season.

1. Safety Comes First 🎄

Before you climb up to decorate, take a moment to consider your safety. Even single-story homes can pose risks if proper precautions aren’t taken:

  • Use a sturdy ladder: Make sure your ladder is stable, properly set up, and in good condition. Follow the manufacturer’s instructions printed on the ladder itself.
  • Avoid overloading yourself: Don’t try to carry too many tools, lights, or decorations at once. It’s safer to work with a partner who can hand you materials.
  • Be cautious with electricity: Test your lights first, then unplug them while hanging. Avoid plugging in any lights until they’re securely in place.
  • Work with a partner: Having someone there to hold the ladder and assist makes decorating safer and much easier.

2. Use the Right Tools for Hanging Lights 🏠

Improperly attaching lights and decorations can damage your roof and lead to leaks down the road. Here’s what to do (and what to avoid):

  • Use plastic light hooks: These hooks are sold with lights or can be purchased separately in hardware stores. They’re designed to attach lights without damaging your roof.
  • Attach lights carefully: The hooks can clip onto gutters, drip edges, or soffits. Be gentle when attaching them—gutters, for instance, can hold the weight of lights but not the weight of a person.
  • Avoid nails, staples, or adhesives: Never staple or nail decorations directly into shingles or roofing materials. Even small holes compromise your roof’s protective surface and can lead to leaks or deterioration over time.

Important Tip: Avoid decorating along the hips and ridges of the roof, as there’s no safe way to attach decorations in those areas without risking roof damage. Stick to the eaves and gutters for a festive look that doesn’t compromise your roof’s integrity.


3. Keep Your Roof Healthy for the Holidays and Beyond

Roof repairs can be expensive and stressful, but a little care now can help you avoid headaches later. Here’s how to protect your home:

  • Take your time when hanging decorations—rushing leads to accidents and mistakes.
  • Use only lightweight decorations on your roof to prevent unnecessary strain.
  • When in doubt, call a professional for advice or assistance.

Happy Holidays from Florida’s Best Roofing, Inc. 🎉

The holidays are a time to enjoy beautiful lights, festive decorations, and making memories with loved ones. By following these tips, you can keep your roof safe, sound, and damage-free for many seasons to come.

If you suspect roof issues or need an inspection after the holidays, Florida’s Best Roofing, Inc. is here for you. We proudly serve Flagler County, St. Johns County, and Volusia County with top-quality roofing services.

📞 Call us today at 386-263-7906 for a FREE estimate!
Stay safe, decorate smart, and have a wonderful holiday season!

Roofing Blog

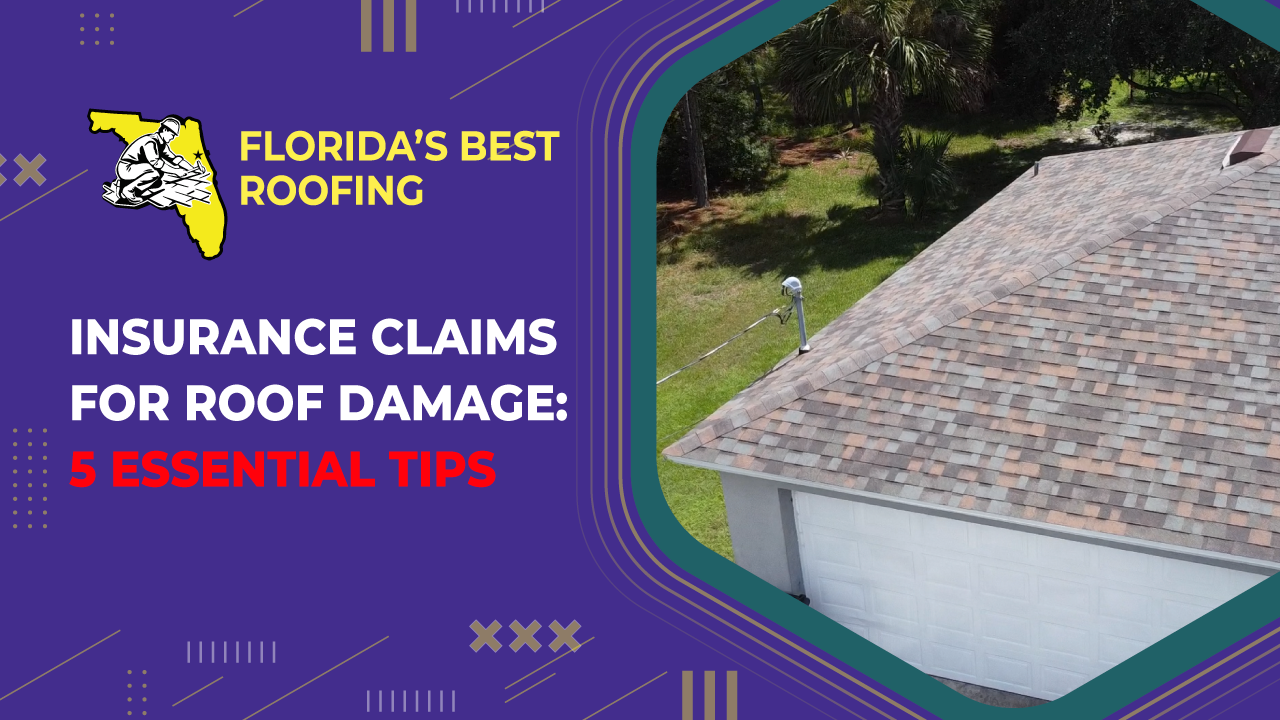
Insurance Claims for Roof Damage: 5 Essential Tips

When your property sustains roof damage after a storm or other natural event, it’s critical to have a smooth claims process to ensure repairs are covered. Knowing how to navigate insurance claims will help you save time, reduce stress, and ensure you receive the compensation needed to restore your roof. Here are five essential tips to simplify the process and protect your home.


1. Understand Your Policy

Familiarize yourself with key parts of your insurance policy before any incident. Begin by confirming the “policy period,” which outlines the active period of your coverage—insurance won’t cover damage occurring outside of this timeframe. Make sure your policy stays up-to-date by renewing on time.

When it comes to roofs, pay attention to any endorsements that might limit coverage, such as an Actual Cash Value (ACV) assessment. While ACV endorsements may lower premiums, they also depreciate payout amounts, meaning you might only receive a portion of the total replacement cost. This can result in higher out-of-pocket costs if a major repair or replacement is needed.


2. File Claims Promptly

In Florida, you have up to two years from the date of damage to file a claim, but it’s best to start the process as soon as you notice the damage. Filing promptly not only jumpstarts repairs but also helps prevent worsening issues. Policies generally require homeowners to “mitigate damages,” meaning you must take reasonable steps to avoid further damage while the claim is in process. For instance, if a damaged roof worsens and causes interior water damage or mold, insurance may not cover those additional costs. Filing quickly helps ensure coverage for all damages.


3. Stay in Communication with Your Insurance Company

The claims process involves ongoing communication with your insurer, including initial filings, inspections, settlement discussions, and possibly more. Keep your contact information current with your insurer, including a phone number, mailing address, and email. Enabling SMS or email alerts can also speed up the process, as important notices often arrive faster electronically than through traditional mail.


4. Document Everything and Stay Organized

While your insurer will conduct its own inspection, maintaining your own records is essential. Photograph all visible damage, recording the dates the photos were taken. Keep a detailed log of anyone you speak to throughout the process (adjusters, inspectors, etc.), noting names, titles, contact details, and a brief summary of each conversation. Staying organized can make any unexpected hurdles easier to manage and helps ensure you have all relevant information at hand.


5. Seek Professional Assistance if Needed

If you face challenges with your claim—such as an unexpected denial or an insurer’s assessment that doesn’t reflect the extent of the damage—consider reaching out to a professional. Public adjusters and experienced contractors are well-versed in local regulations and have likely handled hundreds of claims. They can help by preparing an independent estimate to submit to your insurance company and provide guidance on statutes that support your case. Don’t hesitate to seek out experienced professionals, and ensure they are reputable and licensed.


If you suspect your roof has sustained damage covered by insurance, we’d be happy to assist with an inspection and guide you through the claims process. Florida’s Best Roofing, Inc. is a fully licensed (CCC 1325974) and insured, local roofing contractor with decades of experience. For repairs, replacements, or a free estimate, contact us at 386-263-7906 if you’re in the Palm Coast, Flagler, or Volusia area.

Roofing Blog

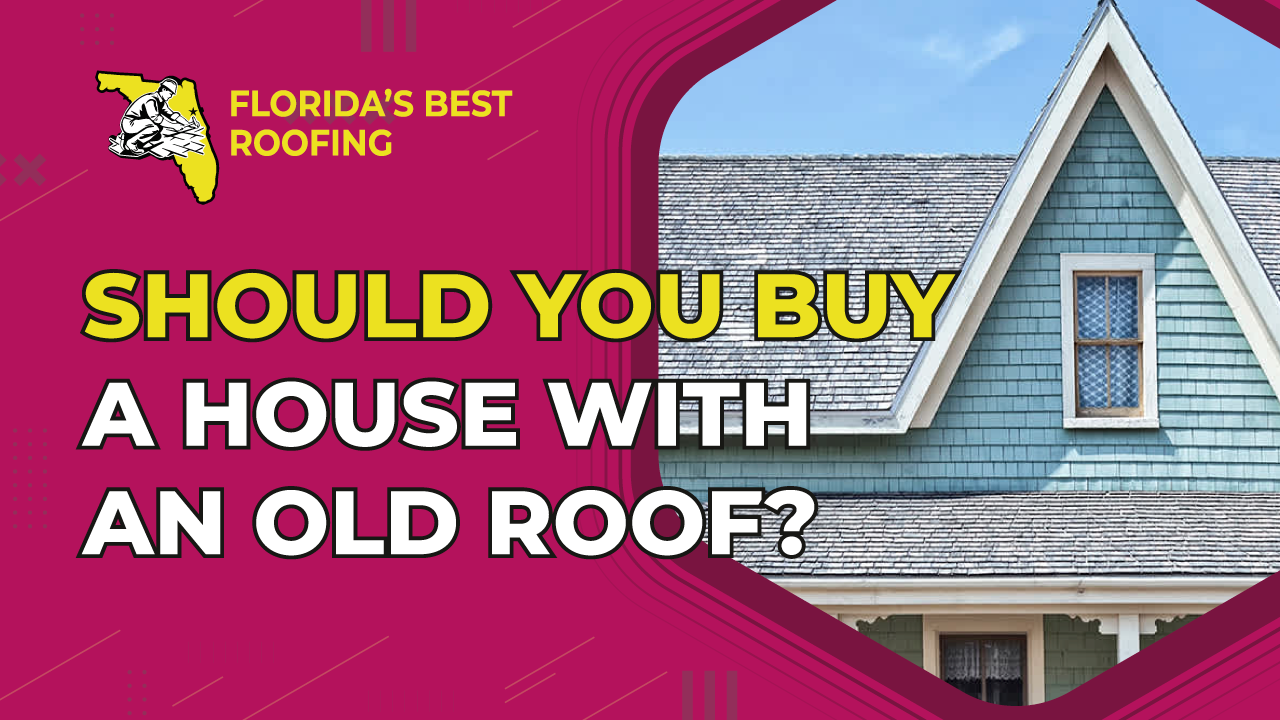
Should You Buy a House with an Old Roof?

When purchasing a home, there are countless factors to consider, and finding one that ticks all the boxes can be both time-consuming and stressful. Even if you find the perfect home in an ideal neighborhood and within your price range, what if the roof is old? This guide will help you weigh the pros and cons of buying a house with an aging roof, especially in areas like Daytona Beach or St. Augustine, where weather conditions can impact roof longevity.

How Old is the Roof?

The first step is determining the age of the roof. You can find this information from local property appraiser records, city or county building departments, or by asking the realtor and sellers directly. If the home has had the same roof since it was built or has not been replaced in many years, it’s critical to know how much life it has left.

Roofs can last anywhere from 20 to over 30 years, depending on the materials used and the weather conditions. Even in areas like Daytona Beach and St. Augustine, where harsh weather is common, some roofs—especially those made from tile or metal—can be more durable. Once you know the age, the next step is to assess the condition of the roof.

Assessing the Condition

Checking the roof’s condition is vital. This can be done through a professional inspection, preferably by a licensed roofing contractor. In coastal areas like Daytona Beach or St. Augustine, roofs are often exposed to salt, wind, and hurricanes, which can cause faster wear and tear.

When inspecting the roof, look for missing or damaged materials, such as shingles, tiles, or metal sheets. Be sure to check for granules from shingles in the gutters, as excessive granule loss can signal the need for replacement. Additionally, pay attention to any soft spots on the roof, as they may indicate dry rot caused by poor attic ventilation or insulation.

Mold, algae growth, and staining on the roof can also be red flags, indicating the need for repairs or replacement.

Warning Signs to Watch Out For

Replacing a roof can be a significant investment, costing thousands of dollars, so it’s important to identify warning signs that could signal the need for major repairs or a full roof replacement.

  • Missing Shingles or Tiles: Missing materials mean the roof is no longer watertight, which can lead to water damage inside the home.
  • Loose Shingles: If shingles can be easily lifted, they are no longer providing adequate protection.
  • Rotten Wood: Rotten wood in the attic or around the house structure points to water damage, often requiring extensive repairs and possibly structural work.
  • Stains and Soft Spots: Water stains on the interior ceilings, walls, or in the attic could indicate leaks. Feel around these spots to check for softness, as this suggests ongoing damage.

Is the Roof Worth It?

Should you buy a house with an old roof? It depends on its current condition. If the roof is old but in good shape, it might still be a good investment. However, if the roof shows signs of damage or decay, you may want to negotiate with the seller for repairs or a price reduction.

In regions like Daytona Beach and St. Augustine, where weather can accelerate roof wear, it’s especially important to factor in potential future costs. Ask for an inspection, and get quotes on repairs or replacement costs before making your final decision.

Conclusion

Buying a house with an old roof doesn’t have to be a deal-breaker, but it’s crucial to know what you’re getting into. By understanding the roof’s age and condition, especially in weather-prone areas like Daytona Beach and St. Augustine, you can make a well-informed decision. If you spot any warning signs, you might want to reconsider or negotiate with the seller for repairs.

If you need a roof inspection, have any questions about your roof, or want a free estimate for your property in Daytona Beach, St. Augustine, or the surrounding areas, reach out to Florida’s Best Roofing at 386-263-7906! We’re here to help you make sure your investment is a smart one.

Roof Shingles: What They Are and How They’re Made
Roofing Blog

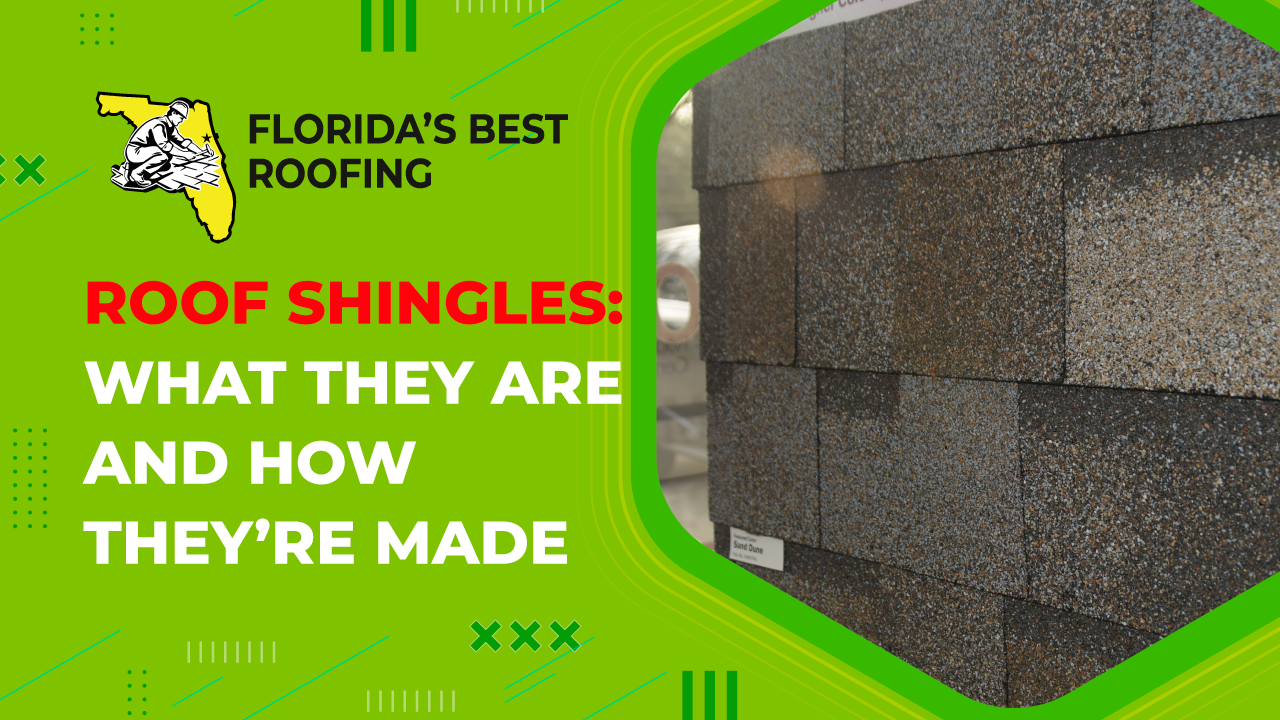
Roof Shingles: What They Are and How They’re Made

Roof shingles are any roof covering that is made up of multiple overlapping elements. The overlap helps to prevent water from rain or snow from penetrating the roof surface. The elements-that is, the shingles-are generally flat rectangular shapes coursing up from the bottom edge of the roof up the slopes to the peak. The successive overlap covers the adjoining locations of the row below, thus preventing water from entering a sloped roof. Shingles can be made of many different materials, including wood, slate or other natural stone, metal, or composite elements, such as asphalt shingles. When the overlapping elements are ceramic or concrete, they are called tiles. Tile roofs are very popular in Europe, but less so in the United States, where the most common material is asphalt shingles. 

What Are Roof Shingles?

Roof shingles are a type of roofing material composed of multiple overlapping pieces. This design helps to prevent water from rain or snow from seeping through the roof. The shingles are generally flat, rectangular shapes laid from the bottom edge of the roof up to the peak. The overlapping arrangement covers the gaps between the rows below, ensuring water doesn’t penetrate the sloped roof. Shingles can be made from various materials, including wood, slate or other natural stones, metal, or composites like asphalt. When the elements are ceramic or concrete, they are referred to as tiles. While tile roofs are prevalent in Europe, asphalt shingles are the most common roofing material in the United States.

Asphalt Shingles

Asphalt shingles, particularly those based on fiberglass, are the most popular roofing material for residential buildings in the United States. These shingles are easy and quick to install, affordable compared to other roofing materials, and can last between twenty and fifty years, depending on the style and climate. They also come in a wide range of colors, allowing homeowners to personalize their roofs without affecting the cost.

The waterproofing and protective qualities of asphalt shingles are primarily due to long-chain petroleum hydrocarbons formed during their manufacturing.

How Are Asphalt Shingles Made?

Asphalt shingles are produced at specialized manufacturing plants across the country by various companies. These top-tier facilities receive thousands of tons of raw and processed materials daily, transforming them into high-quality roofing products with continually improving durability thanks to advancements in manufacturing technology.

The asphalt used in these plants is processed to meet stringent quality standards, resulting in strong and flexible shingles. Quarried limestone, delivered in large stones, is crushed into powder using specialized milling equipment. This limestone powder is mixed with asphalt to create a material known as filled coating.

Fiberglass serves as the core base of the shingles. Large rolls of fiberglass are coated on both sides with the filled coating at extremely high temperatures, exceeding 400 degrees Fahrenheit. After this, granules—the rough, gritty surface of the shingles—are applied. These granules are made from ceramically coated, finely mined stones, which are sized specifically for this process. The ceramic coating on the granules provides the color for the shingles, with different coatings used for each color and style.

The asphalt-coated fiberglass sheet is then fed into a press, which embeds the ceramically coated and colored granules. The material is passed over a series of rollers and sprayed with a fine mist of water to cool it down and seal the process. A strip of sealant is added to the sheet to provide additional wind resistance.

Specialized machinery at the plants then cuts the rolls into individual shingles, which are stacked and packed into bundles. These bundles are loaded onto pallets and shipped to suppliers’ warehouses across the country.

Whether you have an asphalt shingle roof or another type of roofing material, for all your roofing needs in Flagler, Palm Coast, Bunnell, Daytona Beach, St. Augustine, and Deland, call Florida’s Best Roofing Inc. at 386-263-7906 for a free estimate!

#RoofShingles #AsphaltShingles #RoofingMaterials #RoofMaintenance #FloridaRoofing #HomeImprovement #DaytonaBeach #StAugustine

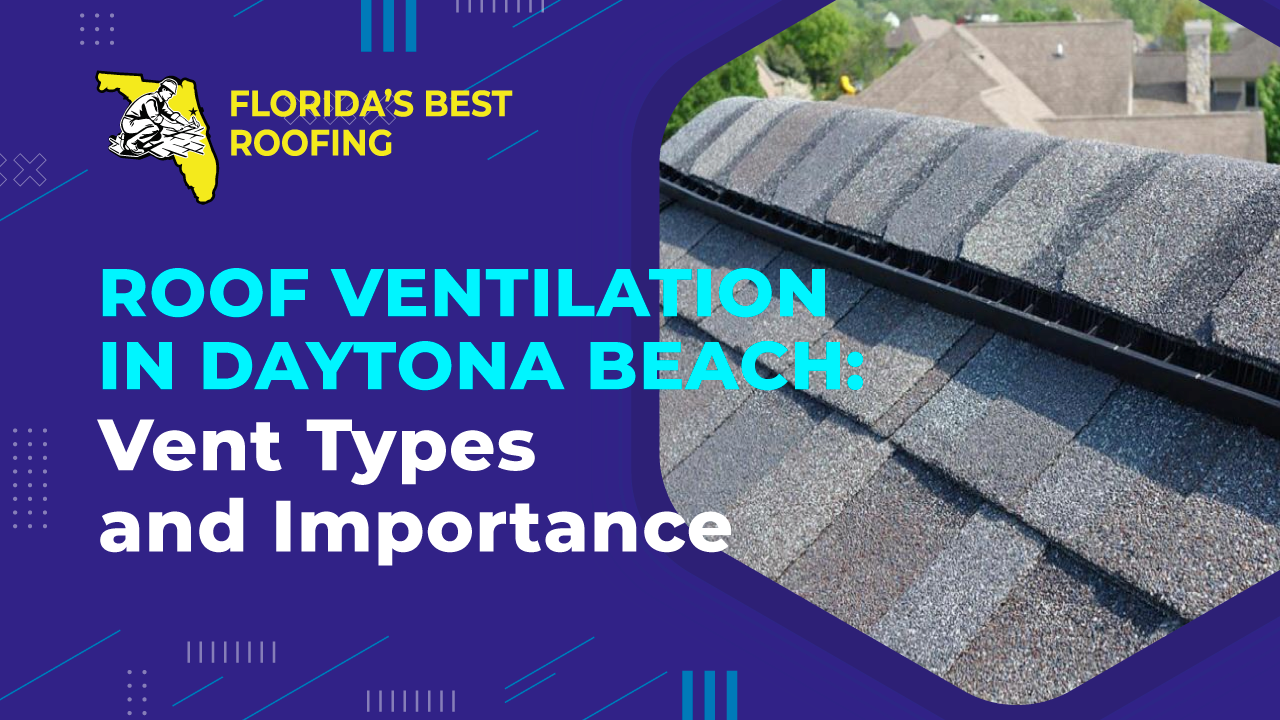
Roof Ventilation in Daytona Beach: Vent Types and Importance
Roofing Blog

Roof Ventilation in Daytona Beach: Vent Types and Importance

Why does a roof require vents, and why are there different types of vents? Here, we will explore the importance of roof ventilation, the types of vents, and the pros and cons of each.

Good ventilation systems extend the lifetime of the roof and can reduce the energy consumption and cost of the structure. There are two types of ventilation: exhaust (letting out stale air) and intake (bringing in fresh air). Ideally, a roof will have both types of ventilation, but occasionally the architecture of the home will allow only for exhaust, not intake. Although having both is best, just exhaust is better than nothing at all.

Why is exhaust ventilation important? Hot air rises and contains moisture, which is a significant issue, especially in warm climates like Florida. If hot, moist air is allowed to stagnate in the attic, it will lead to mildew and mold problems, compromising the wood framing and decking of the roof. To prevent this, exhaust vents are installed at the top of the roof, most often on the ridges, to release this hot air.

Why is intake ventilation important? Intake ventilation helps by pushing cooler air in to replace the hot air that rises and exits through the exhaust vents. Intake vents are installed along the eaves of the roof, usually in the soffit, to take in cool air and push the hot air up through the exhaust vents.

Unventilated or improperly ventilated roofs can lead to major, expensive problems such as poor indoor air quality, overburdened air conditioning systems, moisture in the attic space, and dry rot of roof sheathing. In colder climates, ice dams can form on roofs in the winter months, straining the roof framing and wearing down the roofing material.

Types of Exhaust Vents

Ridge Vents: These are the most common and effective type of exhaust vent. They are installed across the peak or ridge of a roof, allowing the rising hot air to exit out of the highest point. Ridge vents usually run across the entire peak of the roof, providing maximum surface area for the hot air to escape. Ridge vents come in two main types: aluminum and shingle-over.

Off Ridge Vents: These vents are smaller than ridge vents, typically varying in size from 2 feet to 8 feet, with the most common type being 4 feet across. They are installed about one foot below the ridge line and are less effective than ridge vents due to their smaller surface area.

Box Vents: Also known as turtle vents, these are square vents, usually sized 18 inches by 18 inches. They are installed in bunches on roofs with short ridges or as auxiliary vents in areas that require ventilation but are not suitable for ridge or off ridge vents.

Hard-Wired Powered Attic Vents: These are electric fans that pull stale air out of the attic space. They are hard-wired into the home’s electrical system and rely on it for their function. While they provide some exhaust ventilation, their constant use of electricity increases the home’s electric bill. They can also pull cooler air from the house’s interior, raising AC costs.

Solar Powered Attic Vents: These are similar to hard-wired power vents but are powered by a solar panel attached to the vent. This removes the increased electricity cost but does not eliminate other issues. Like hard-wired power vents, they are often either too powerful or not powerful enough to function efficiently with the roof’s ventilation system.

Roof Turbines: These devices consist of aluminum blades within an aluminum cowl that rotate due to wind movement, pulling air from the attic. They are eco-friendly and quiet but require winds of at least 5 or 6 mph to function properly. Multiple units are needed to ventilate a whole roof.

Cupola Vents: Cupola vents are unique, rare, and expensive but often quite beautiful, adding to a home’s aesthetic. They were originally created to allow a lot of air into a barn to help dry hay and other crops. They act as both exhaust and intake vents and come in many shapes and sizes with elaborate decorative features.

Types of Intake Vents

Soffit Vents: This is the most common and effective type of intake ventilation. Soffit vents are installed directly on the eaves of the roof to provide continuous ventilation around the roof’s perimeter. They are typically made of vinyl or aluminum and can be continuous or individual.

Gable Vents: These are usually round or triangular vents just below the peak of a roof’s gable. They function partially as intake and partially as exhaust vents in a horizontal cross-ventilation system. This system is less effective than the vertical cross-ventilation of soffit and ridge vents.

Over Fascia Vents: These vents are placed at the top of the fascia board and below the first row of wood covering. They are less effective than soffit vents because the intake surface area is decreased. However, they are useful when the eaves’ overhang does not allow for soffit venting.

Drip Edge Vents: Similar to over fascia vents, these are either part of or added to the roof’s drip edge. The drip edge is a metal strip attached at the edge of the roof to direct water drainage off the side or into the gutters.

We hope this post has shown you the ins and outs of roofing ventilation. For all your roofing needs in Flagler, Palm Coast, Bunnell, Daytona Beach, and Deland, call Florida’s Best Roofing at 386-263-7906 for a free estimate!

#RoofVentilation #ExhaustVents #IntakeVents #RoofingTips #HomeMaintenance #FloridaRoofing #EnergyEfficiency

Discover Rare and Unique Roof Shapes for Your Home
Roofing Blog

Discover Rare and Unique Roof Shapes for Your Home

This time, we will provide you with information on rare and unusual roof shapes. These unique shapes are often chosen for aesthetic reasons, heightening the impact of a structure’s style. Due to their distinctive qualities, these types of roofs are often more expensive to repair and replace since they require contractors with specialized knowledge and skills. Below, we discuss nine of these roof shapes.

Bonnet: Bonnet roofs can resemble either gambrel or mansard roofs (see our previous post for these), only in reverse. There are two panes on each side, with different slopes. Unlike gambrel and mansard roofs, bonnet roofs have steep upper panes and low-sloped bottom panes. Bonnet roofs can have two sides (like a spruced-up gable roof) or four sides (like a hip roof). These roofs are popular in specific geographic areas such as Cape Cod and the Northeast but are fairly rare elsewhere.

Saltbox: Homes with saltbox roof styles gained popularity in colonial America, but examples can still be seen today across the country and elsewhere. Saltbox roofs have two sides, like a gable shape, but what makes them unique is that these sides are not equal or symmetrical. The two sides meet at the top ridge but drop down unequal distances. One side is significantly shorter than the other, but equal in width. Most frequently, the slope also differs between the two sides, with one side usually having a much steeper slope.

Butterfly: A butterfly roof is a striking shape arising out of contemporary architecture. It is essentially the reverse of a gable roof, resulting in a shape resembling the insect that lends its name to this roofing style. While two sides rise up to a ridge in a gable roof, the two sides of a butterfly roof slope down into a central valley. This can easily lead to water retention issues and snow pile-ups in colder environments if special care is not taken to ensure positive drainage and regular snow clearance.

Sawtooth: Sawtooth roofs are similar to butterfly roofs in that they have central valleys created by two sides sloping down. However, sawtooth roofs differ in that their valleys are created by the repetition of components sloping up and then down, resulting in a facade resembling the teeth of a saw. The repeating components can be straight or curved and can vary in slope—the only requirement is that they repeat exactly several times. This style is most often seen in commercial roofing, and special care must be taken to ensure proper drainage.

Curved: Curved roofs provide a contemporary stylistic alternative to the straight lines seen in traditional roofing styles. They give a structure a modern, sleek look but require specialized skills and materials to install. Creating and designing such shapes requires experienced architects, structural engineers, and specialized contractors, making them expensive to build and maintain. However, the aesthetic possibilities are endless!

Pyramid: Almost five thousand years ago, the ancient Egyptians figured out that the pyramid shape gives stability to structures of almost any size. The balance of weight and tension makes pyramid shapes and pyramid-shaped roofs very strong. In this, pyramid roofs are closely related to hip roofs; in fact, they are a subset of hip roofs in which all four sides have equal dimensions and slope.

Jerkinhead: Also called half-hip roofs, the origin of this terminology becomes clear with a quick glance at the jerkinhead roof’s shape. The half-hip or jerkinhead roof has four sides. Two are just like those of a gable roof that meet at the top ridge. At both ends of the ridge, you will find a very short hip. This roof shape has the advantage of strength and stability provided by the hip elements and an old-world aesthetic.

Skillion: Skillion roofs are made of one sloped pane. The slope can be steep or low, closely resembling a lean-to. Homes and other structures with skillion roofs often have two or more skillion roofs at varying elevations, giving a very contemporary, modern look and providing opportunities for more windows, allowing for a brightly lit interior.

Dome: Dome roofs look exactly like you might imagine: essentially, the roof is in the shape of half of a sphere. The force distribution in these roofs, if properly constructed, makes them incredibly strong and long-lasting. This is evidenced by structures like the Pantheon in Rome, still standing after thousands of years under the original roof. Dome roofs are rarely seen in residential structures and require very specialized architects and structural engineers for their construction.

We hope this post has opened your eyes to the variety of shapes and styles available in roofing. As always, for all your roofing needs in Flagler, Palm Coast, Bunnell, Daytona Beach, and Deland, call Florida’s Best Roofing at 386-263-7906 for a free estimate!

#UniqueRoofShapes #RoofDesign #ArchitecturalRoofing #SpecializedRoofing #RoofingStyles #ContemporaryRoofing #RoofMaintenance

Unveiling the Secrets Beneath Shingles: Exploring the Layers of Your Roof
Roofing Blog

Unveiling the Secrets Beneath Shingles: Exploring the Layers of Your Roof

Ever wondered what lies beneath the surface of your roof? While asphalt shingles may be the most visible element, there’s a complex system of layers working together to support, insulate, and protect your home. Understanding these layers can provide valuable insights into your roof’s functionality, potential issues, and maintenance needs.

Let’s delve into the layers that compose a typical roof, starting from the bottom and working our way up.

  1. The Frame: At the core of every roof is its frame, which provides structural support and defines its shape. Modern frames are typically constructed using wooden trusses or beams, tailored to the specific design of the building. It’s crucial to consider the roofing material when designing the frame, as certain materials may require additional reinforcement to support their weight effectively.
  2. Insulation: Insulation plays a vital role in regulating temperature and energy efficiency within your home. Installed between the rafters or on the attic floor, insulation helps minimize heat loss and reduce energy costs.
  3. The Roof Deck: Positioned atop the frame, the roof deck consists of plywood or engineered wood boards, forming the surface on which the roofing materials are installed. Strategic openings are made in the deck to accommodate roofing vents.
  4. Water Shield: A waterproof membrane is applied to key areas of the roof to prevent moisture buildup and protect against water damage. This peel-and-stick membrane is particularly crucial in regions prone to ice or snow accumulation.
  5. Underlayment: Directly beneath the roof covering lies the underlayment, which serves as an additional barrier against water infiltration. There are various types of underlayment available, each offering different levels of water resistance and durability.
  • Asphalt-Saturated Felt: Traditionally used as underlayment, asphalt-saturated felt is water-resistant and secured to the roof deck with nails. It consists of a base material soaked in asphalt for added protection.
  • Synthetic Underlayment: Increasingly popular among contractors, synthetic underlayment offers enhanced durability and tear resistance. Composed of synthetic materials coated in asphalt, it provides reliable water resistance when nailed to the roof deck.
  • Rubberized Asphalt: Considered the premium option, rubberized asphalt underlayment boasts superior strength and waterproofing properties. Featuring a self-adhesive backing, it forms a watertight seal without the need for nails, reducing the risk of leaks.

Once the underlayment is in place, the roof covering, such as shingles or other materials, is installed to complete the roofing system.

For any inquiries about roof underlayment or professional roofing services in the Palm Coast, Flagler, or Volusia areas, contact Florida’s Best Roofing, Inc. at 386-263-7906. Our team is ready to provide expert guidance and assistance for all your roofing needs.

Roofing Blog

Roof Warranties Guide: Palm Coast & Daytona Beach

Investing in a new roof is a significant decision, and safeguarding that investment is paramount. Understanding the warranties associated with roof replacements empowers homeowners to make informed choices. Let’s explore the types of warranties available, focusing on both manufacturers’ guarantees and contractors’ assurances, tailored for residents of Palm Coast and Daytona Beach.

Manufacturers’ Warranties: Protecting Your Roof Materials

Manufacturers’ warranties, as the name suggests, are assurances provided by the manufacturers of the roofing materials used in your new or replaced roof. Here’s what you need to know:

  • Asphalt Shingles: In central Florida, asphalt shingles reign supreme, offering durability and aesthetic appeal. Manufacturers provide varying warranties based on the type of shingle. While traditional 3-tab shingles used to carry warranties of 15-25 years, modern architectural shingles boast warranties ranging from 30 years to a limited lifetime, translating to around 50 years or more.
  • Tile and Metal Roofing: Similar limited lifetime warranties are common for tile and metal roofing materials. These warranties typically remain in effect as long as the home remains under the ownership of the same individual. However, they are often transferable if the property changes hands, albeit with limitations on the duration.
  • Coverage: Manufacturers’ warranties primarily cover defects in the roofing material resulting from the manufacturing process. This includes issues like rapid granule loss, color changes, splitting, or cracking. Some warranties may extend coverage to weather events like wind or hail damage, albeit with specified limitations.
  • Registration: It’s crucial to register your new roof with the manufacturer to activate the warranty. Your contractor can guide you through this process, ensuring your warranty remains valid.

Labor or Workmanship Warranties: Ensuring Quality Installation

On the flip side, labor or workmanship warranties focus on the installation aspect of your roof. Here’s what you should know:

  • Contractor’s Responsibility: These warranties are provided by the contractor who installs or replaces your roof. They typically range from 3 to 10 years, with ten years being the most common duration.
  • Coverage: Labor warranties cover the cost of labor and materials involved in repairing any installation-related issues that may arise during the warranty period. However, they may not always cover material costs associated with repairs, so it’s essential to clarify the terms before signing a contract.
  • Effective Coverage: To avail of the warranty, you’ll need to contact the contractor who provided it. The warranty is typically effective only if the same contractor addresses any problems that arise.
  • Our Commitment: At Florida’s Best Roofing, Inc., we stand behind our work with a 10-year labor warranty on all roof replacements. We’re dedicated to ensuring the longevity and integrity of your roof.

Empowering Homeowners in Palm Coast and Daytona Beach

Armed with knowledge about roof warranties, homeowners in Palm Coast and Daytona Beach can confidently navigate roof replacement decisions. For any roofing needs in Flagler, Volusia, or St. Johns counties, reach out to Florida’s Best Roofing, Inc. at 386-263-7906 for a free estimate. Your peace of mind is our priority!

Shingle Color: How to Make the Best Choice
Roofing Blog

Shingle Color: How to Make the Best Choice

When it comes to giving your home a fresh look, one of the most impactful changes you can make is replacing your roof. A new roof not only enhances the aesthetic appeal of your home but also provides essential protection against the elements. However, selecting the right shingle color can be a daunting task. It’s a decision that will influence your home’s appearance for decades to come. In this guide, we’ll explore the factors to consider when choosing a shingle color for your new roof.

  1. Climate and Location

The first step in choosing the perfect shingle color for your roof is to consider your climate and location. Different regions experience various weather patterns and temperature extremes throughout the year.

In hot climates, lighter-colored shingles are often recommended. Light colors reflect sunlight and heat, helping to keep your home cooler and reduce energy costs. Conversely, in colder climates, darker shingles can help absorb heat and contribute to winter energy efficiency by melting snow and ice.

If you live in an area with frequent rain or high humidity, it’s essential to choose shingles that can resist algae and moss growth. Look for shingles with algae-resistant properties to maintain the appearance and longevity of your roof.

  1. Architectural Style

The architectural style of your home plays a significant role in determining the ideal shingle color. Different styles have distinct characteristics and color palettes that complement their overall aesthetic. Here are some guidelines to consider:

Traditional Styles (Colonial, Victorian, Cape Cod): These homes often look stunning with classic colors such as charcoal, slate gray, or deep brown. Earthy tones help maintain the timeless appeal of traditional architecture.

Contemporary Styles (Modern, Minimalist): Modern homes tend to be more versatile in terms of shingle color. Consider sleek, neutral shades like black, gray, or beige to achieve a clean and sophisticated look.

Mediterranean Styles (Spanish, Tuscan): Mediterranean-inspired homes can benefit from warm, earthy colors like terracotta, clay, or even a blend of warm tones.

Cottage or Coastal Styles: Coastal homes typically look fantastic with light-colored shingles, such as sandy beige, pale blue, or soft gray, to evoke a seaside feel.

  1. Neighborhood Aesthetics

While you want your home to stand out, it’s also important to consider the aesthetics of your neighborhood. Take a walk around your community to get a sense of the prevalent roof colors in the area. While you don’t need to match exactly, your choice should harmonize with the overall neighborhood vibe. A wildly contrasting roof color might not be well-received by your neighbors.

  1. Resale Value

If you foresee selling your home in the future, consider how your choice of shingle color might affect its resale value. Neutral colors tend to have broader appeal and may make your home more attractive to potential buyers. A bold or unconventional color choice might limit your pool of potential buyers.

  1. Energy Efficiency

Energy efficiency is a growing concern for homeowners. Your choice of shingle color can impact your home’s energy consumption. As mentioned earlier, light-colored shingles reflect more sunlight and heat, which can help lower cooling costs in hot climates. Darker shingles, on the other hand, can absorb heat, making them a better choice for colder climates. Keep your energy efficiency goals in mind when making your selection.

  1. Material Considerations

Shingle materials also come in different colors, and your choice of material will affect your color options. Here are a few popular shingle materials and their color considerations:

Asphalt Shingles: These are the most common roofing material and are available in a wide range of colors, making them highly versatile.

Wood Shingles: Typically come in natural wood tones like cedar or redwood, which can be beautiful but limit your color options.

Metal Roofing: Available in a variety of colors, including standard shades like gray, black, and white, but also more unique options like copper or aged patina.

Tile or Slate: Often found in earthy tones, these materials may limit your color choices.

  1. Visualizing Your Choice

Before making your final decision, try to visualize how your chosen shingle color will look on your entire roof. Many roofing manufacturers offer online tools that allow you to upload a photo of your home and experiment with different shingle colors. This can give you a better sense of how your choice will impact your home’s overall appearance.

  1. Maintenance and Longevity

Consider the maintenance requirements of your chosen shingle color. Lighter colors may show dirt and stains more prominently, requiring more frequent cleaning. Darker colors can fade over time due to exposure to UV rays. Additionally, some shingle colors may have warranties that cover fading or discoloration, so be sure to inquire about this when making your selection.

In conclusion, choosing the right shingle color for your new roof is a significant decision that should take into account climate, architectural style, neighborhood aesthetics, resale value, energy efficiency, material considerations, and maintenance requirements. By carefully considering these factors and visualizing your choice, you can make an informed decision that enhances both the beauty and functionality of your home. Remember that your new roof is a long-term investment, so choose wisely, and you’ll enjoy its benefits for years to come.

If you have any questions about roofs or need a roof repair, we would be happy to help you out. Florida’s Best Roofing, Inc. is a fully licensed (CCC 1325974) and insured, local roofing contractor with decades of experience. If you are interested in roof replacement or repair and you are in the Palm Coast, Flagler, or Volusia area, please give us a call at 386-263-7906 for a free estimate!

Roofing Estimate Breakdown: What is it Really?
Uncategorized

Roofing Estimate Breakdown: What is it Really?

A roofing estimate is a detailed breakdown of the cost of a roofing project that a contractor provides to a homeowner or business owner. A roofing estimate includes the scope of the work to be done, the materials to be used, and the labor required to complete the job. In general, a roofing estimate provides a rough idea of how much a roofing project will cost and what is involved in the installation or repair of a roof.

When requesting a roofing estimate, it’s important to provide as much information as possible to the contractor. This will help them provide an accurate estimate that reflects the actual cost of the project. A contractor will typically come to the site to inspect the roof and assess its condition. They will take measurements, look for any damage or potential problems, and identify any other factors that may impact the cost of the project.

Once the contractor has completed their assessment, they will provide a roofing estimate that includes several key components. These components may vary depending on the contractor and the specifics of the project, but they typically include the following:

Labor costs: This is the cost of the contractor’s time and the time of any workers who will be involved in the project. Labor costs may include things like removing the existing roof, installing new roofing materials, and cleaning up after the project is complete.

Material costs: This is the cost of the roofing materials themselves, including things like shingles, tiles, or metal panels. Material costs will vary depending on the type and quality of the materials chosen.

Equipment costs: This is the cost of any equipment that is needed to complete the project, such as scaffolding or safety gear.

Additional costs: This may include things like permits, disposal fees, and any other expenses that may be incurred during the course of the project.

The roofing estimate should also include a detailed breakdown of the work that will be done. This will typically include a list of tasks that the contractor will perform, such as removing the existing roof, installing new underlayment, and laying down new shingles. The estimate should also provide a timeline for the project, including when the work will start and when it is expected to be completed.

In addition to these basic components, a roofing estimate may also include optional add-ons or upgrades. For example, a homeowner may choose to upgrade to a higher-quality roofing material, or they may opt to add additional insulation to their roof to improve energy efficiency. These upgrades will typically add to the cost of the project, but they may provide additional benefits in terms of longevity, durability, or energy savings.

When reviewing a roofing estimate, it’s important to look beyond the total cost of the project and consider the details of the estimate itself. This includes things like the materials that will be used, the quality of the workmanship, and the timeline for completion. It’s also a good idea to ask the contractor for references or examples of their previous work, so that you can get a sense of their experience and expertise.

In general, a roofing estimate should be clear, concise, and easy to understand. It should provide a detailed breakdown of the costs involved in the project, as well as a timeline for completion and a list of the tasks that will be performed. A roofing estimate should also be transparent, with no hidden fees or unexpected charges. This will help ensure that both the homeowner and the contractor are on the same page when it comes to the scope of the work and the cost of the project.

In conclusion, a roofing estimate is a critical component of any roofing project. It provides homeowners and business owners with an idea of the cost of the project, the scope of the work involved, and the timeline for completion. By understanding the components of a roofing estimate and what to look for when reviewing one, homeowners can ensure that they are getting a fair deal.

If you have any questions about roofs or need a roof repair, we would be happy to help you out. Florida’s Best Roofing, Inc. is a fully licensed (CCC 1325974) and insured, local roofing contractor with decades of experience. If you are interested in roof replacement or repair and you are in the Palm Coast, Flagler, or Volusia area, please give us a call at 386-263-7906 for a free estimate!

Attic Insulation
Uncategorized

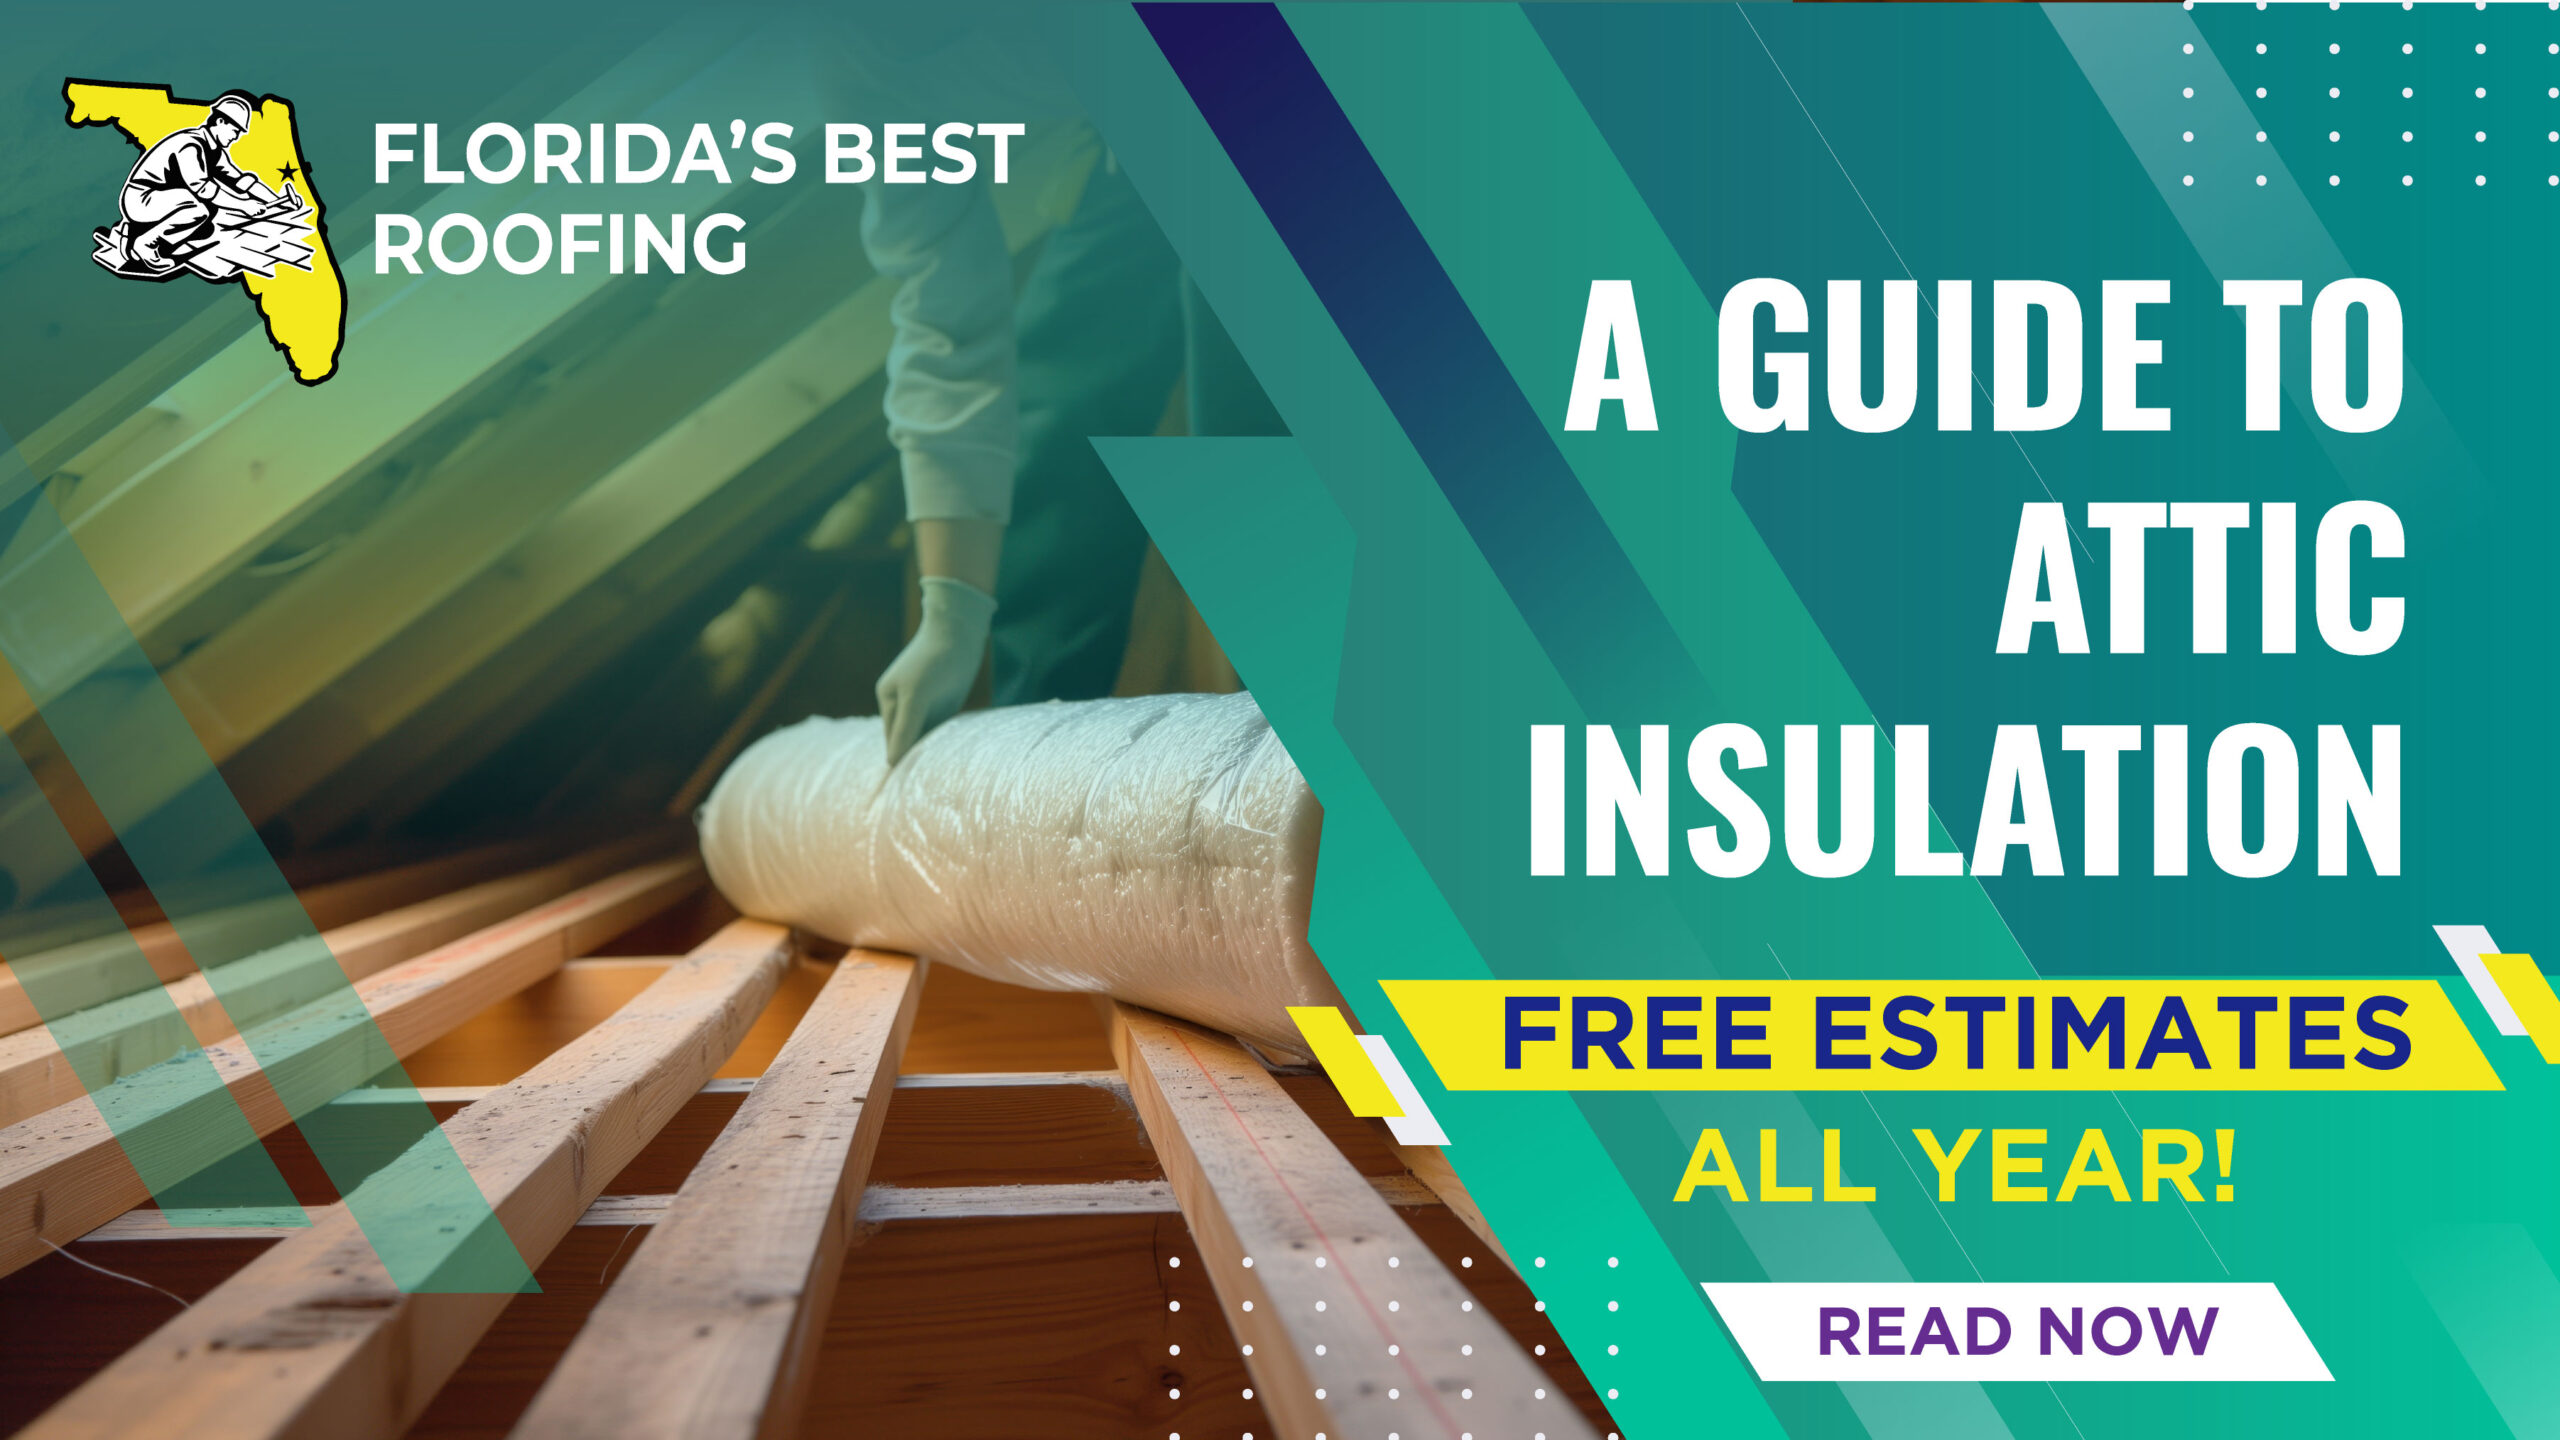
A Guide to Attic Insulation

While not strictly part of the roof, the attic (finished or unfinished) space works in concert with the roofing system to contribute to the protection of your home. When the attic space is unfinished, as most are in our region of Florida, homeowners spend very little time thinking about it and even less time up there. Perhaps you use it for storage, or climb up there if you notice a leak on your ceiling, but did you know that the attic plays a huge part in the temperature and weather control of your home? This occurs through the insulation that is added to the attic space during construction and perhaps may be replaced during renovation.


What is the Point of Attic Insulation?

Attic insulation helps regulate temperature control. That is, it helps keep the attic heat out of your interior in the summertime and traps the heat in the interior during the cooler winter months (or days, as few as there may be in central Florida). These functions of insulation save money on energy bills, whether it is air conditioning in the summer or heating in the cooler months. Different types of insulation have different benefits, like moisture resistance (to prevent mold or rot in humid climates), fire resistance (to slow down fire spread, if it happens), and ease of installation.


What Kinds of Insulation Are There?

The most common shape that insulation takes is batt. Batts are large rolled-up sheets that are held together by an adhesive vapor barrier like foil backing or paper. Batts are fairly easy to install and come in different kinds of materials. The most common material for batt insulation is fiberglass. Fiberglass is a material of spun glass fibers made of recycled materials and sand. They can resemble cotton candy in look and feel but by no means should they be treated like it. Fiberglass has the benefits of being highly moisture-resistant and fire-retardant. Batts can also be made of mineral wool, a great fire blocker burning only at above 1,800 degrees Fahrenheit and a very effective noise insulation, or denim insulation–recycled scraps of jeans. Denim insulation is gaining traction as it is wholly recycled and very environmentally conscious.

Another type of insulation is blow-in insulation, which can be made of fiberglass or cellulose. Blown-In insulation comes in chunks stored in large bags. A special machine is used to actually blow in (like a reverse vacuum) these chunks of insulation. It has the great advantage of being able to fill every nook and cranny of the attic space, even between irregular ceiling joists, around pipers and wiring, and in difficult to reach spaces or corners when the space between the roof and the attic floor is very narrow. Blow-in insulation is also one of the cheaper options. Fiberglass blow-in insulation has the same benefits as fiberglass batts, with better coverage. Blow-in cellulose insulation is made of finely shredded newspaper. This is perhaps the cheapest option, but it comes with a major downside. Cellulose is far from moisture resistant. As with any other paper product, it is by design a material that soaks up moisture, which can lead to mold and mildew build-up and insect or other critter infestations. There are chemical baths that should prevent this material from taking in moisture, but these are not always effective.

The last type of insulation we will discuss here is spray foam. Spray foam is perhaps the best-performing insulation there is, but it is also unsurprisingly the most expensive. As the name suggests, spray foam is a foam that is sprayed all over the attic space and afterward hardens into a solid insulation barrier. It is highly fire retardant, essentially impervious to moisture, a great sound barrier, and can even strengthen the building’s structure. The only downside of spray foam, besides its cost, is that once applied over pipes or wiring it makes those inaccessible for future repairs or renovations without extensive work to remove and then replace the insulation. 

If you have any questions about roofs we would be happy to help you out. Florida’s Best Roofing, Inc. is a fully licensed (CCC 1325974) and insured, local roofing contractor with decades of experience. If you are interested in roof replacement or repair and you are in the Palm Coast, Flagler, or Volusia area, please give us a call at 386-263-7906 for a free estimate!

Florida’s Best Roofing, Inc is a Palm Coast-based roofing contractor, providing professional roofing services in Flagler and Volusia County Areas.

Newsletter

We promise not to spam!