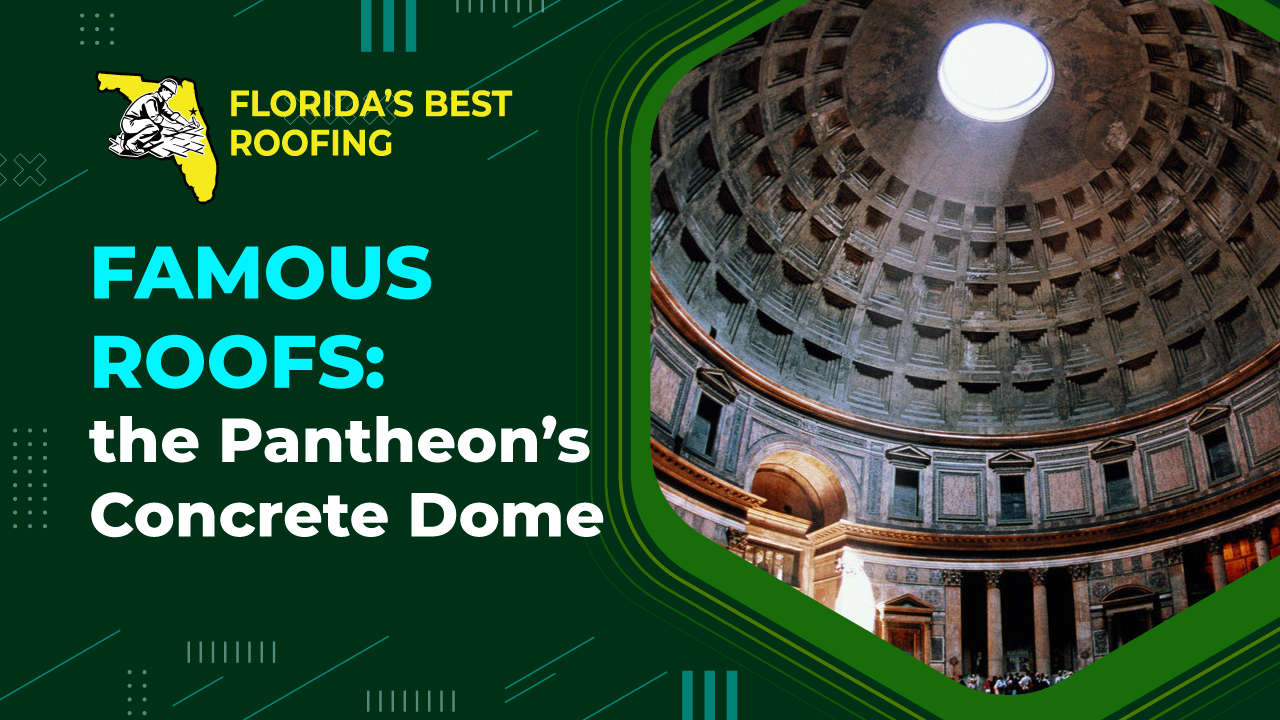
Roofs Around the World: The Taj Mahal
In the third article of our summer roofs around the world series we will be discussing the Taj Mahal, a marble mausoleum in Agra, India. The Taj Mahal, one of the world’s most iconic structures, stands as an architectural masterpiece that has captivated hearts and minds for centuries. This magnificent monument, located in Agra, India, showcases a harmonious blend of Islamic, Persian, and Indian architectural styles. While the Taj Mahal is renowned for its stunning white marble façade and impressive dome, its roof and intricate architectural details deserve special attention. In this article, we will explore the Taj Mahal’s roof and delve into the mesmerizing architectural features that make it an unrivaled marvel of design.
The Roof: A Graceful Crown
Atop the Taj Mahal’s grand structure lies its roof, which adds a crowning touch to the monument’s splendor. The roof is primarily comprised of a large central dome, surrounded by four smaller domed pavilions at each corner. Rising to an impressive height, the central dome is adorned with intricate carvings and delicate marble inlays that depict floral motifs, geometric patterns, and Quranic inscriptions. The dome itself is a masterful feat of engineering, seamlessly combining strength and grace.
The central dome’s design is symbolic of the heavens, evoking a celestial aura. Its impressive size, coupled with its elegant form, creates a sense of harmony and balance. The smaller domed pavilions, known as chattris, not only enhance the architectural symmetry but also serve as decorative elements. These chattris feature exquisite jali screens, allowing light to filter through and cast enchanting patterns on the interior surfaces.
Architectural Marvels
Beyond its roof, the Taj Mahal’s architecture encompasses a wealth of remarkable features. The entire structure is built on a massive platform, known as a plinth, which serves as a solid foundation for the monument. The plinth itself is adorned with intricate marble carvings and calligraphy, showcasing the meticulous craftsmanship of the artisans involved in its construction.
The Taj Mahal’s main entrance, known as the Great Gate or Darwaza, is an architectural spectacle in itself. The imposing gate is constructed of red sandstone and features intricate geometric designs and calligraphic inscriptions from the Quran. As visitors pass through this gateway, they are transported into a world of unparalleled beauty and serenity.
The interior of the Taj Mahal is equally breathtaking. The main chamber houses the cenotaphs of Emperor Shah Jahan and his beloved wife, Mumtaz Mahal. The cenotaphs, intricately carved from pure white marble, are surrounded by delicate marble screens adorned with exquisite floral motifs. Natural light streams in through the perforated marble screens, casting a heavenly glow on the ethereal surroundings.
The intricate marble inlays throughout the Taj Mahal are a testament to the skilled craftsmanship of the artisans. These intricate designs, known as pietra dura, feature semiprecious stones meticulously carved and fitted into the marble surface. The pietra dura work embellishes the walls, floors, and ceilings of the Taj Mahal, adding to its opulence and creating an atmosphere of sheer luxury.
Conclusion
The Taj Mahal’s roof and architecture are a testament to the genius of its designers and the rich cultural heritage of India. Its elegant roof, crowned by the central dome and surrounded by chattris, epitomizes architectural grandeur. The intricate carvings, delicate marble inlays, and mesmerizing pietra dura work showcase the exceptional craftsmanship that went into its creation. Visiting the Taj Mahal is a journey into an architectural wonderland, where every detail tells a story of love, devotion, and artistic brilliance.
If you have any questions about roofs or need a roof repair, we would be happy to help you out. Florida’s Best Roofing, Inc. is a fully licensed (CCC 1325974) and insured, local roofing contractor with decades of experience. If you are interested in roof replacement or repair and you are in the Palm Coast, Flagler, or Volusia area, please give us a call at 386-263-7906 for a free estimate!